After dwelling in Ember.js for almost two years I have tried React.js. As every developer do, I started surfing on the internet to create my Hello World app using React.js.
Initially, I found create-react-app which is pretty much useful for creating React.js in lightning-fast speed. I really enjoyed create-react-app since it had all the setup that we usually need in JS framework, starting from development server to test setup.
After using it for a while I felt that it lacks customization. create-react-app uses Webpack behind the screen to build the application. Webpack is a widely used javascript bundler which has a large ecosystem that supports plenty of plugins. But create-react-app doesn't allow us to explore those plugins.
So I arrived at the conclusion that I need to move out of create-react-app to utilize the full power of webpack with React.js. I started writing my own webpack configuration to release the full power of webpack.
Here I'm writing how I used webpack to build my react application to help the developers like me.
Prerequisite
- Node.js must be installed on your computer. I hope you guys are familiar with yarn. Also, yarn is installed globally.
- Create an empty project and create a package.json file.
Installation
Install the following packages.
Setup React.js
yarn add react react-domreact - React.js library.
react-dom - This package serves as the entry point to the DOM and server renderers for React.
Setup webpack
yarn add -D webpack webpack-cli webpack-dev-server html-webpack-pluginwebpack - Webpack is a bundler for modules.
webpack-cli - Command Line interface for webpack.
webpack-dev-server - Development server that provides live reloading.
html-webpack-plugin - The HtmlWebpackPlugin simplifies creation of HTML files to serve your webpack bundles.
Setup Babel
yarn add -D @babel/core @babel/preset-env @babel/preset-react babel-loader@babel/core - Mainly used to convert ECMAScript 2015+ code into a backwards compatible version of JavaScript.
@babel/preset-env - It allows you to use the latest JavaScript.
@babel/preset-react - This package is a set of plugins used to support React.js specific features.
babel-loader - This package allows transpiling JavaScript files using Babel and webpack.
Configuration
We have installed all the required packages to create a React.js application using webpack. Next we need an index.html template where we need to insert the react constructed dom. Create an HTML file inside src/ folder.
src/index.html
  <html>
    <head>
      <title>Setup React Application From Scratch</title>
    </head>
    <body>
      <!-- We will insert the dom here -->
      <div id="react-app">

      </div>
    </body>
  </html>
Also, we need a starting point to create react application. Create a js file index src/ folder.
src/index.js
  import React from 'react';
  import { render } from 'react-dom';

  const rootElement = document.getElementById('react-app');

  render(<div> Hello World! </div>, rootElement);
Configure webpack to serve live development server
webpack.config.js
  const path = require('path');
  const HtmlWebpackPlugin = require('html-webpack-plugin');

  module.exports = {
    entry: path.resolve(__dirname, 'src/index'),
    output: {
      path: path.resolve(__dirname, 'dist'),
      filename: 'bundle.js'
    },
    module: {
      rules: [{
        test: /\.js$/,
        include: path.resolve(__dirname, 'src'),
        use: ['babel-loader']
      }]
    },
    devServer: {
      contentBase:  path.resolve(__dirname, 'dist'),
      port: 9000
    },
    plugins: [
      new HtmlWebpackPlugin({
        template: "src/index.html" //source html
      })
    ]
  };
Babel Configurations
.babelrc
{
  "presets" : [
    "@babel/preset-env",
    "@babel/preset-react"
  ]
}
We have reached to the finishing line. Oh wait! there is one more thing to be done. Add the webpack scripts to package.json file.
package.json
{
  "name": "react-setup-from-scratch",
  "scripts": {
    "serve": "webpack-dev-server --mode development",
    "build": "webpack --mode production",
  }
}
That's all! It's show time. Let's start the development server.
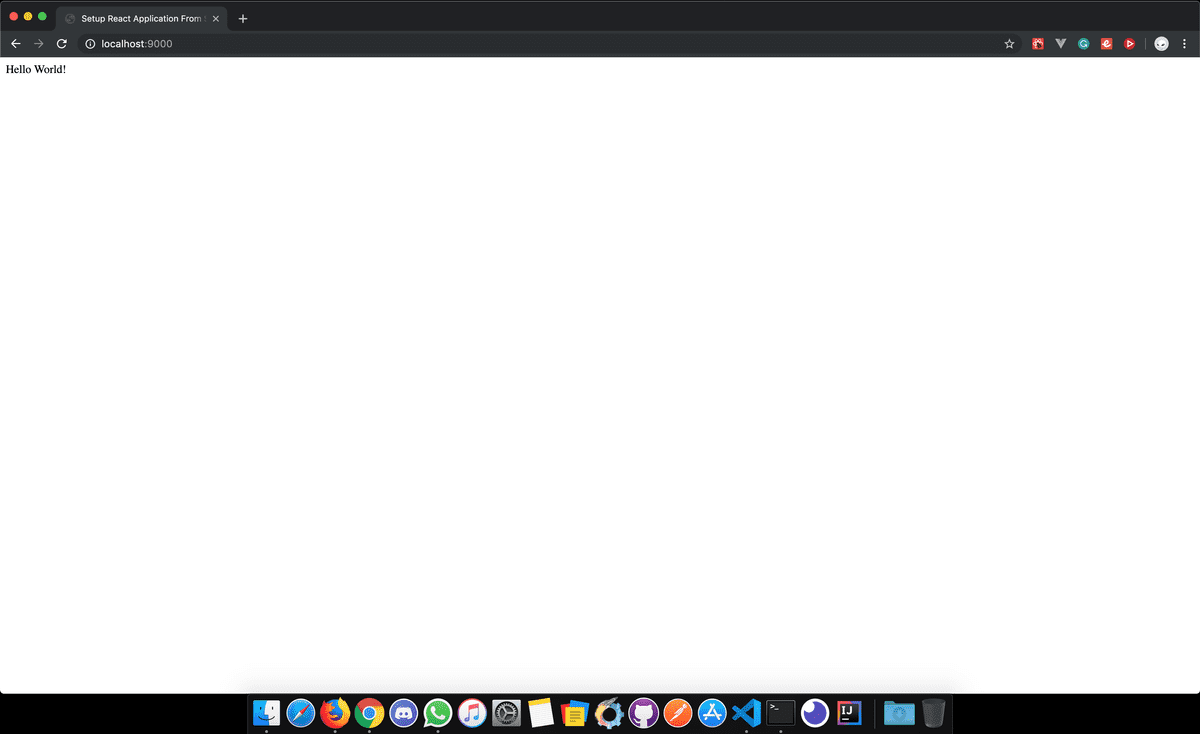
yarn serveVoila!!! We are done. Let's see the output.
Fully completed code can be found here.
I hope this post is useful in someway for the beginners ❤️.

